
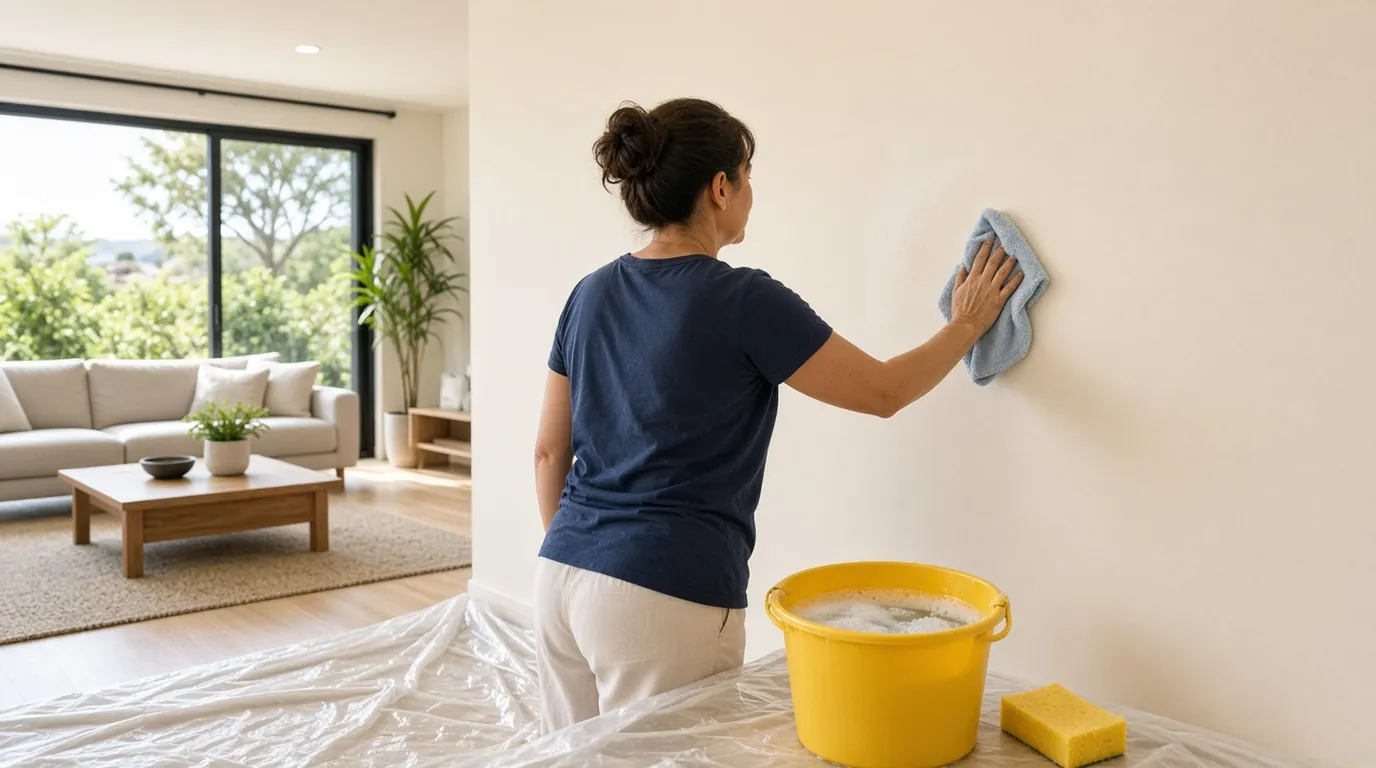
Knowing how to clean walls properly is one of those jobs that looks simple until you end up with streaks, scuffed paint or a new coat that peels a few months later. In Perth, walls collect fine dust through open windows, salty air near the coast, cooking residue in kitchens and moisture in bathrooms. This guide covers the best way to clean walls, how to match your method to the paint finish, and how to keep painted walls looking good for longer.
What You Need for Cleaning Walls
You do not need anything fancy. Gather these before you start:
- Two buckets, one for cleaning solution and one for clean rinse water
- Warm water and a few drops of mild dishwashing liquid
- Soft microfibre cloths and a non-scratch sponge
- A dry duster, soft broom or microfibre mop for dusting
- Old towels or drop sheets for the floor
- A stable step ladder
- Rubber gloves and eye protection
Avoid abrasive pads and harsh scourers. They can burnish or scratch paint, especially on flat finishes.
How to Wash a Wall: Step by Step
1. Clear and protect the area
Move furniture away from the wall, lay towels or drop sheets along the skirting, and keep water away from switches and power points. If you are cleaning close to them, turn the power off at the switchboard first.
2. Dust the wall first
Dry dust from the ceiling line down, including corners, cornices and skirting boards. Washing a dusty wall turns the dust into muddy streaks, so do not skip this step.
3. Test a hidden spot
Before you wash a wall, try your solution on a hidden spot, such as behind a door or inside a wardrobe. Let it dry, then check for any change in colour, sheen or texture.
4. Wash in sections
Dip a cloth in the solution and wring it out until it is damp, not dripping. Wash from the bottom up in sections of about a square metre, using light, sweeping strokes. Working upward stops drips running down a dirty wall and leaving streaks that are hard to remove.
5. Rinse and dry
Wipe each section with a cloth dampened in clean water to remove soap residue, then pat dry with a soft towel. Leftover soap can leave a film that affects how new paint grips. Change your water as soon as it looks dirty.
Cleaning Walls by Paint Finish
The finish on your wall changes how gently you need to treat it. Our guide, Paint Finishes Explained, covers the differences in detail. Here is the short version for cleaning.
Flat and matt
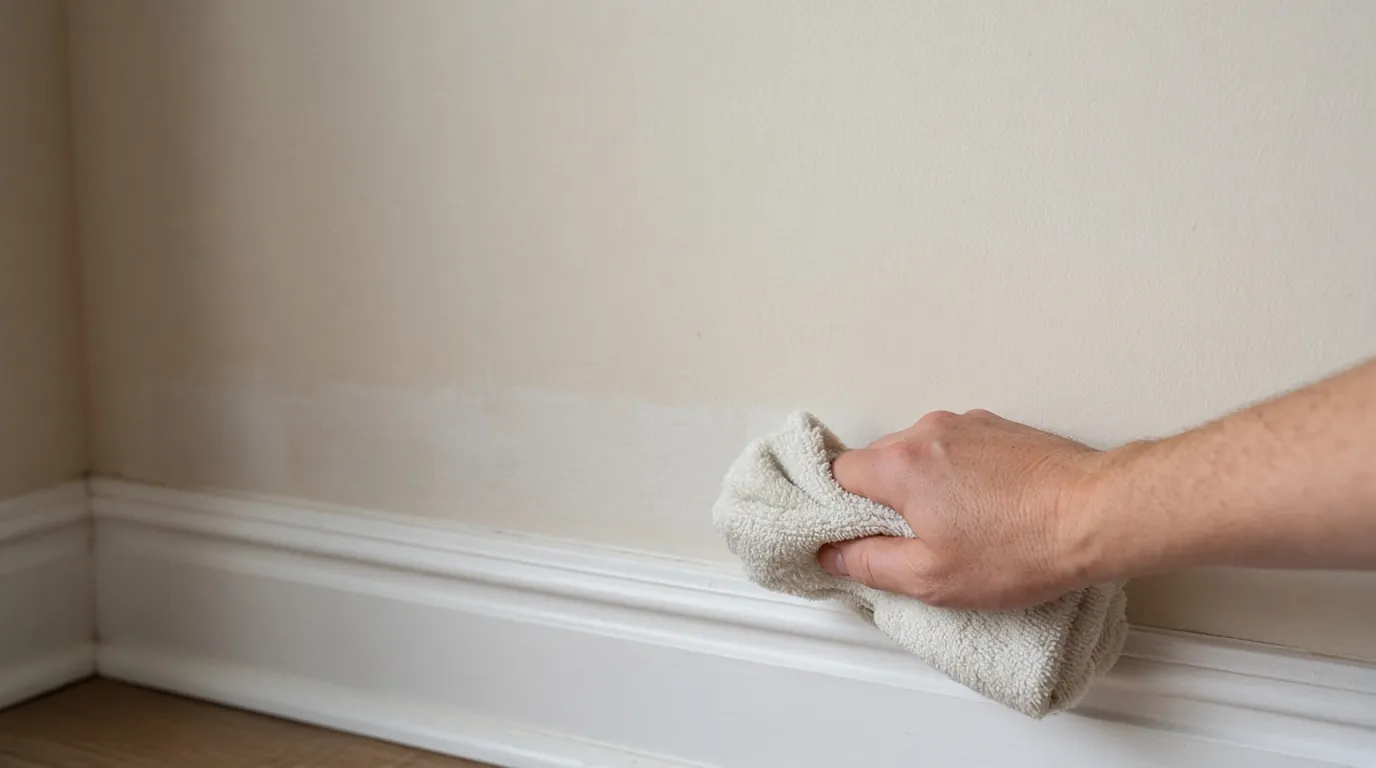
These are the most delicate finishes. They show rubbing marks easily, so use a barely damp cloth, very light pressure, and spot clean rather than scrubbing whole walls. If a mark will not lift, a touch-up coat may be a better fix than more scrubbing.
Low sheen
Low sheen handles gentle washing well. Use the mild soapy solution, wipe lightly and rinse. It tolerates a little more moisture than matt, but it should never be soaked.
Satin
Satin is tougher, which is why it is popular in hallways, kids’ rooms and busy living areas. A soft cloth and mild solution work well, and it copes with regular wiping. Dry it afterwards to avoid water marks.
Semi-gloss and gloss
These finishes are the easiest to clean and are often used on trims, doors, kitchens and bathrooms. They cope with more frequent washing but show streaks and smears, so buff dry with a clean microfibre cloth.
Removing Tough Marks
Crayon and scuffs
Lift loose wax with a dry, soft cloth first. Then dab the mark with a cloth and a little soapy water. Do not scrub hard, as that can polish the paint or wear it away. If the mark remains, test a hidden spot before trying anything stronger.
Grease in kitchens
Walls near the cooktop gather a sticky film of airborne grease and dust. Mix a slightly stronger dishwashing liquid solution in warm water, work on a small area, let it sit for a minute or two, then wipe and rinse thoroughly. Change cloths often so you do not spread the grease around. Grease left on the wall is one of the main reasons new paint fails to stick.
Mould in bathrooms
Poorly ventilated Perth bathrooms can develop mould on walls and ceilings. As general guidance only: open the window, run the exhaust fan, and wear gloves, eye protection and a mask. Wipe light surface mould gently with a cloth and a mould cleaner used exactly as its label directs. Do not scrub dry mould, as this can spread spores. If mould covers a large area, keeps coming back or sits on plaster that feels soft, there may be a moisture problem that cleaning will not fix. Have it checked before you paint.
How to Sanitise Walls Safely
If you are wondering how to sanitise walls (often searched as how to sanitize walls), for example around light switches and door frames, clean first and disinfect second. Disinfectants work poorly on dirty surfaces.
- Wash with mild soapy water and rinse.
- Use a disinfectant suitable for painted surfaces, and follow the label for dilution and contact time.
- Test a hidden spot first, as some disinfectants can dull or mark paint.
- Keep the room ventilated and wear gloves.
- Never mix bleach and ammonia. Together they release toxic fumes. Check the label of any cleaner you use, and do not mix different cleaning products.
Finish by wiping with clean water and drying the wall.
Cleaning Walls Before Repainting: Why Prep Matters
Paint grips best on a clean, dry, sound surface. Dust, grease and soap residue sit between the wall and the new paint, which can lead to poor adhesion, patchy colour and peeling.
Cleaning is only one part of preparation. Sanding glossy surfaces, filling holes and cracks, and spot priming stains usually follow, and the wall should be wiped down again after sanding to remove dust. Let everything dry fully before you open a paint tin. That takes longer in humid bathrooms and laundries. Our guide, How to Prepare Your Home for Painting, walks through the whole process.
If you would rather hand it over, our interior painters can take care of the preparation and painting for you.
How to Keep Painted Walls Clean
A little routine care means you will need to wash a wall less often:
- Dust walls regularly as part of your normal cleaning.
- Wipe marks as soon as you see them, before they set.
- Use exhaust fans in kitchens and bathrooms to reduce grease and moisture.
- Avoid harsh chemicals and abrasive pads.
- When repainting high-traffic areas, consider a harder-wearing finish.
When Cleaning Is Not Enough: Time to Repaint
Some problems cannot be washed away. It may be time to repaint if you notice:
- Stains that bleed through after cleaning
- Scuffs that remove paint when you rub them
- Peeling, bubbling or flaking paint
- A chalky residue that comes off on your cloth
- Cracks, fading or patchy colour
- Mould that keeps returning
In these cases a fresh coat over properly prepared walls is the better fix. If you would like a professional opinion, talk to our team of house painters in Perth.
Call 0474 157 273 or fill in our contact form to book your free quote.
Frequently Asked Questions
Dry dust the wall first, then wash it with warm water and a little mild dishwashing liquid. Rinse with clean water, dry the surface and let the wall dry completely before painting.
Usually, yes. Dust, hand oils and cooking film are often invisible but can still affect adhesion. A quick wipe-down is a good minimum.
Bleach is not recommended for general wall cleaning, as it can mark paint and is harsh to use. Never mix it with ammonia or other cleaners. If you use a product for mould, follow its label closely.
Until they are completely dry, with no damp patches. Drying time depends on the weather and ventilation, and it is usually longer in bathrooms and laundries.
Yes. Surface preparation, including cleaning, sanding and filling where needed, is part of our interior painting work across Perth. Call 0474 157 273 or fill in our contact form to book your free quote.